Step-by-step guide
This is the step-by-step guide on how to use our Excel add-in.
Step 1: Open the add-in
Open Microsoft Excel 2021 or latest, Ms Office 365 Excel on Windows or Microsoft Excel Online (supported versions).
Earlier Office versions will not be supported from October 2025. Please upgrade either to perpetual Office 2021 (or later) or to a Microsoft 365 account.
We are aware of some issues with Office on Mac and recommend that you use other platforms.
Go to Insert menu item. Click on ‘My Add-ins’. A pop-up will appear with all of your Office Add-ins.
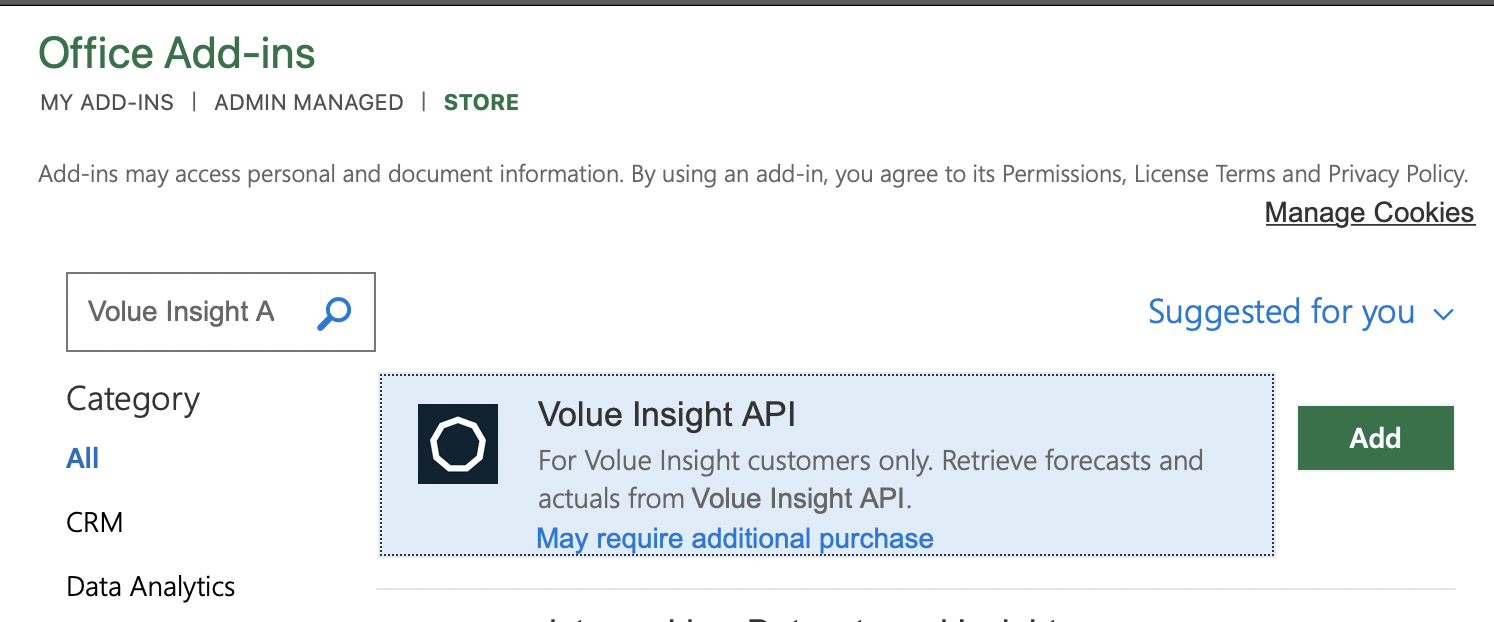
If it is the first time using it, go to Store and search by Volue Insight API. Click add.
If the MS store is not available to you please check here for different installation methods.
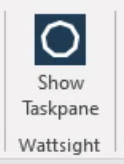
A new button will be added to your Home menu and you can click it to start the add-in.
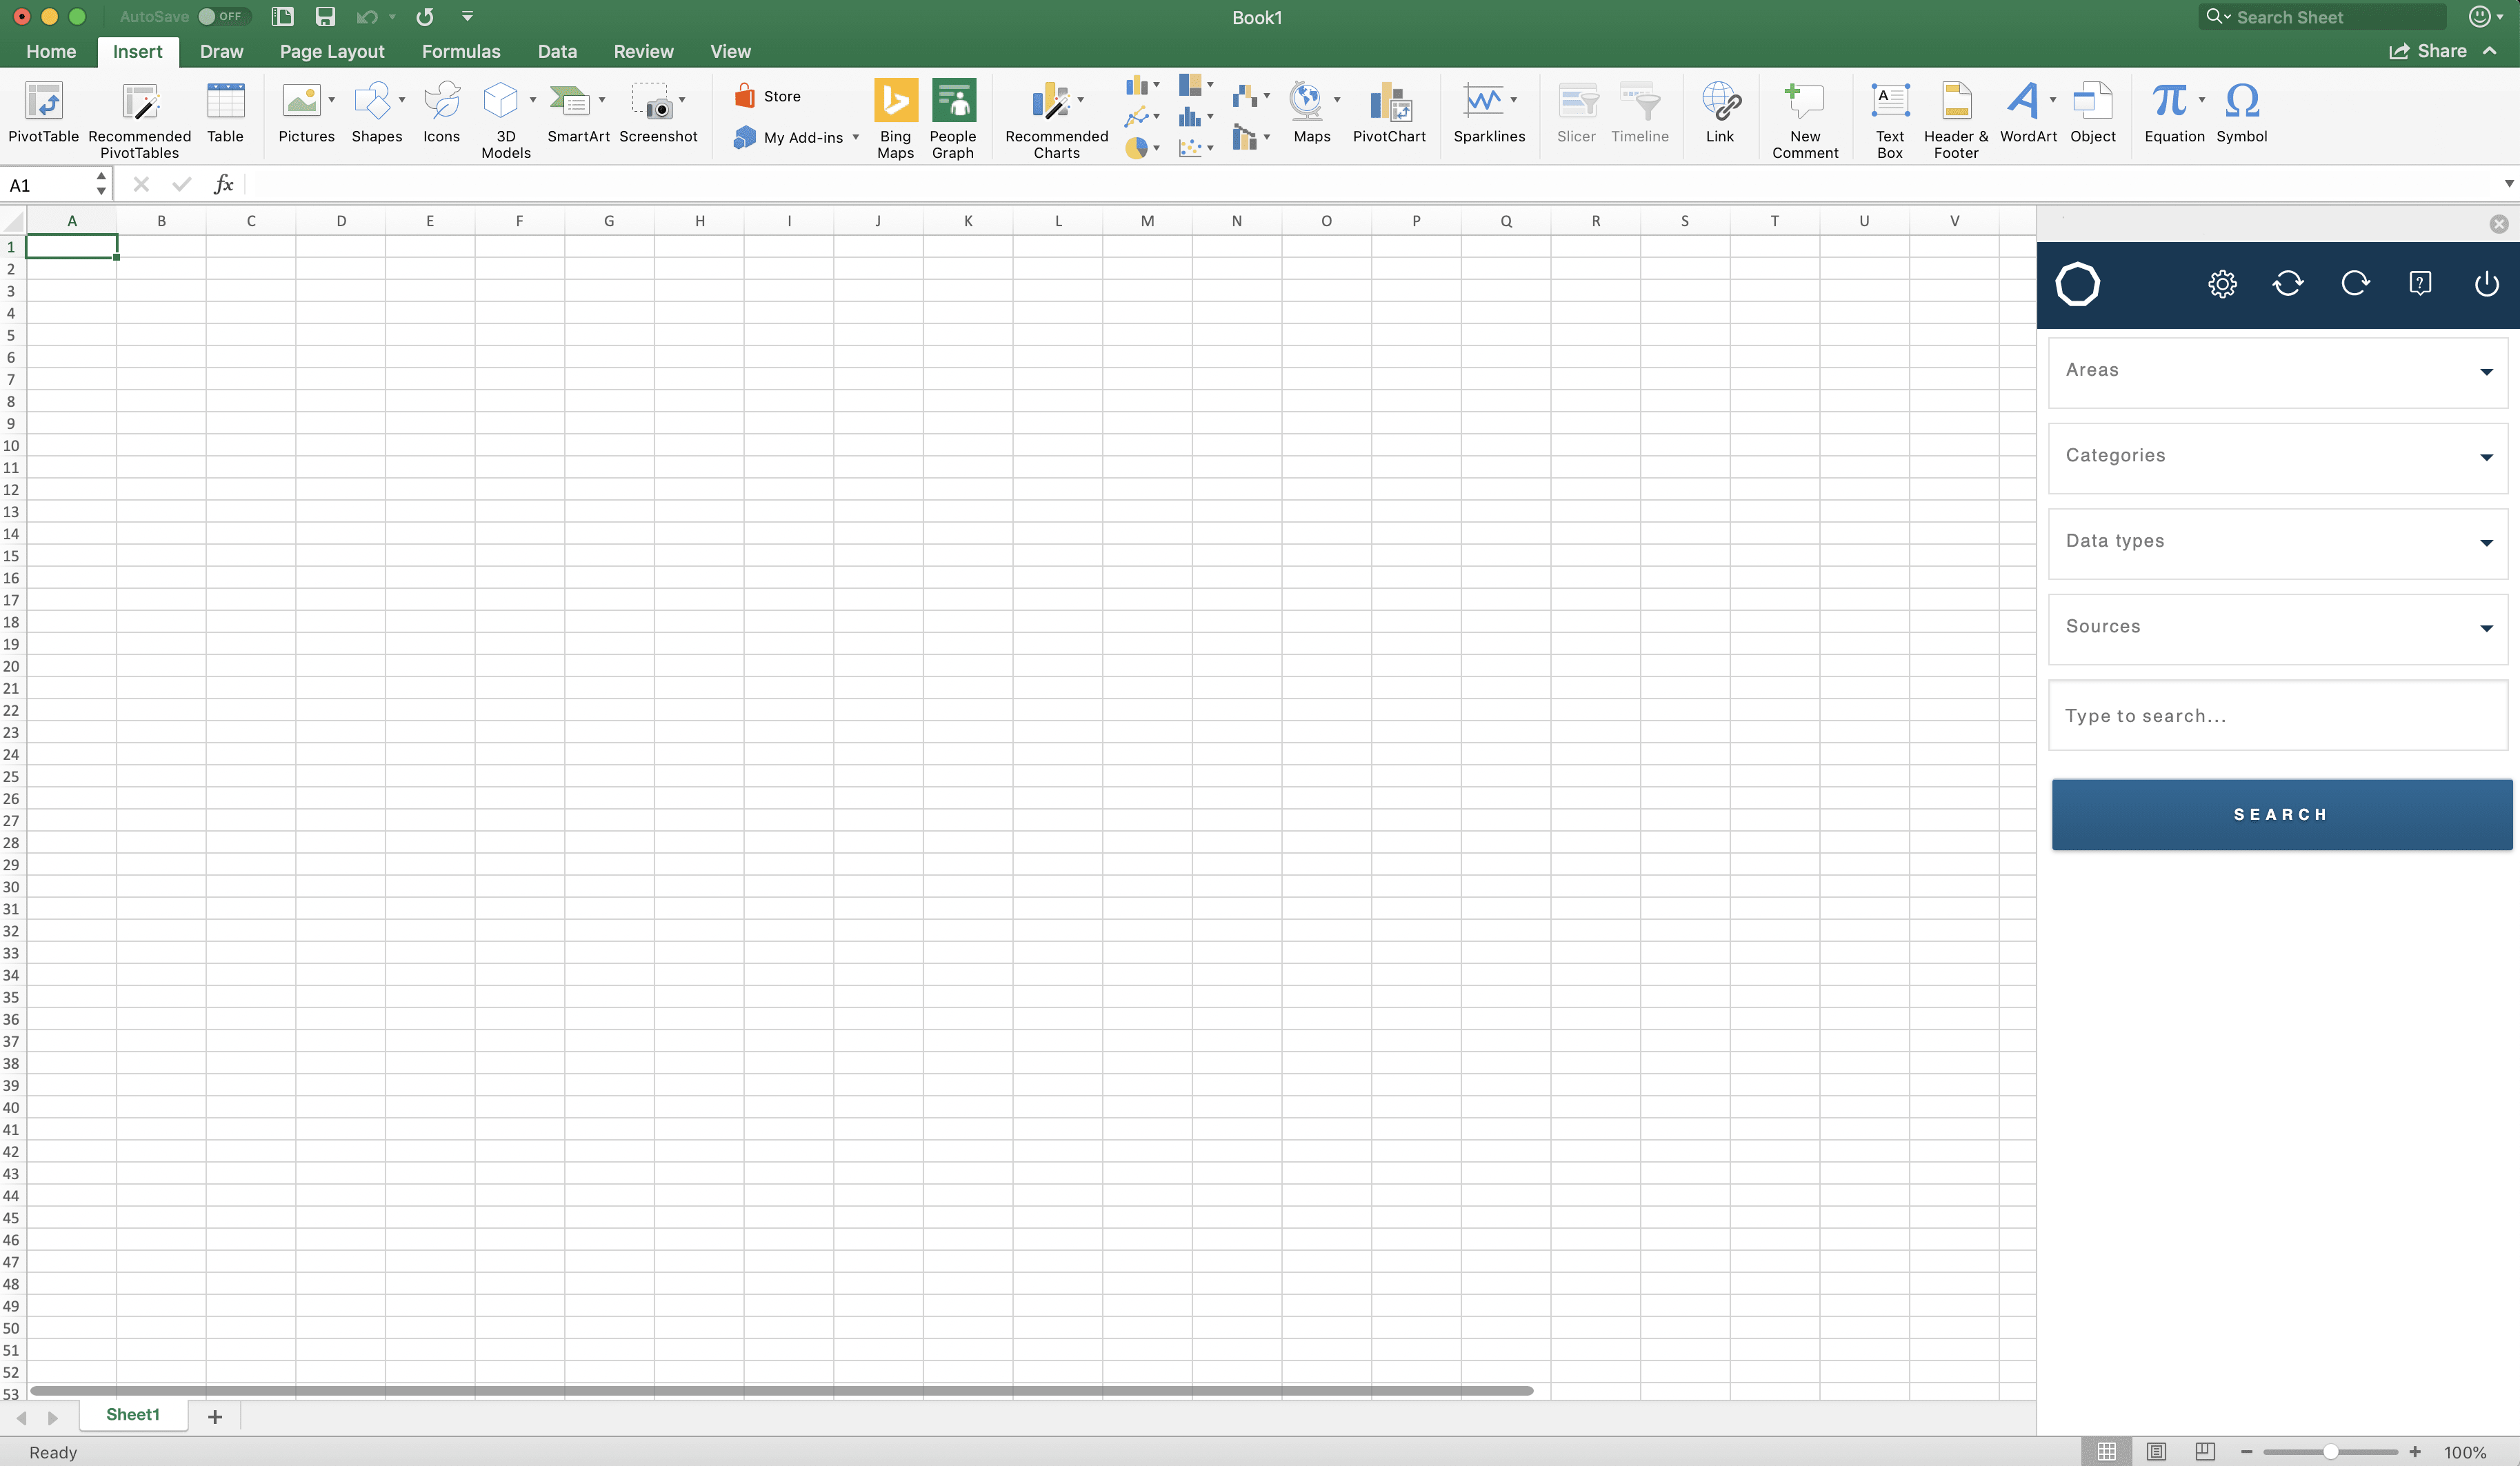
The add-in will appear on the right of your Excel spreadsheet.
Warning
We have encounter problems with version 16.0.11629 or higher of Office combined with the version 1903 of Windows. The fix has been release by Microsoft and it is now available on the new version of Office. This version is now available on the Monthly update channel. If you do not have this update channel follow the tutorial on our Troubleshooting section.
Step 2: Setting up the search criteria
Use search filters
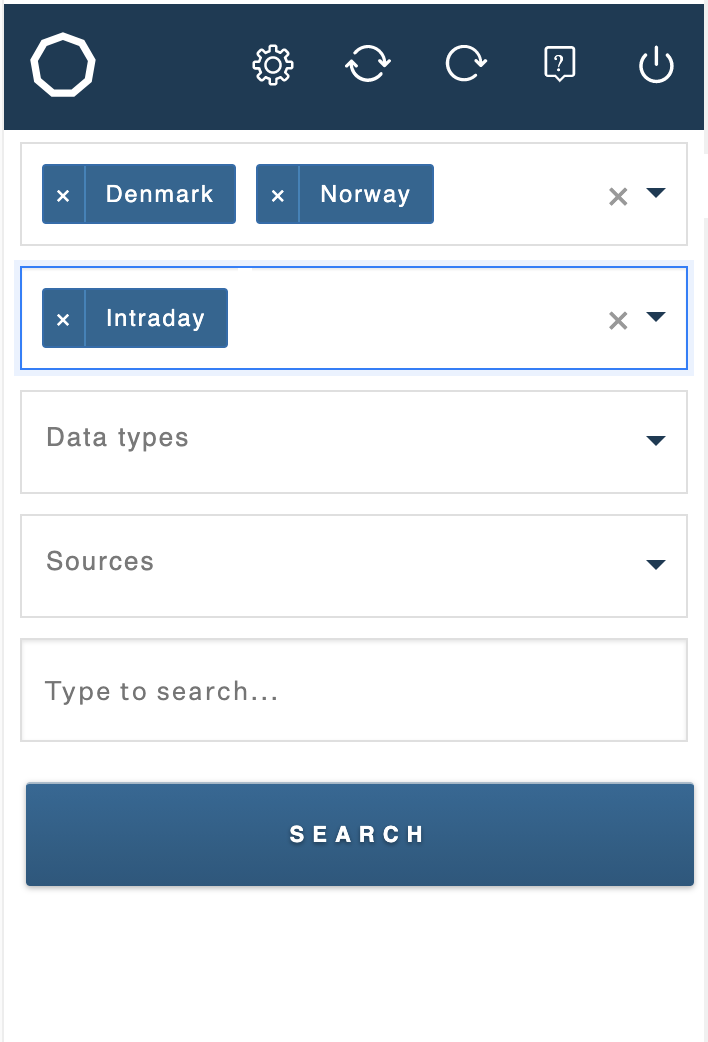
When you first open the add-in there are some pre-defined search filters: Areas, Categories and Sources.
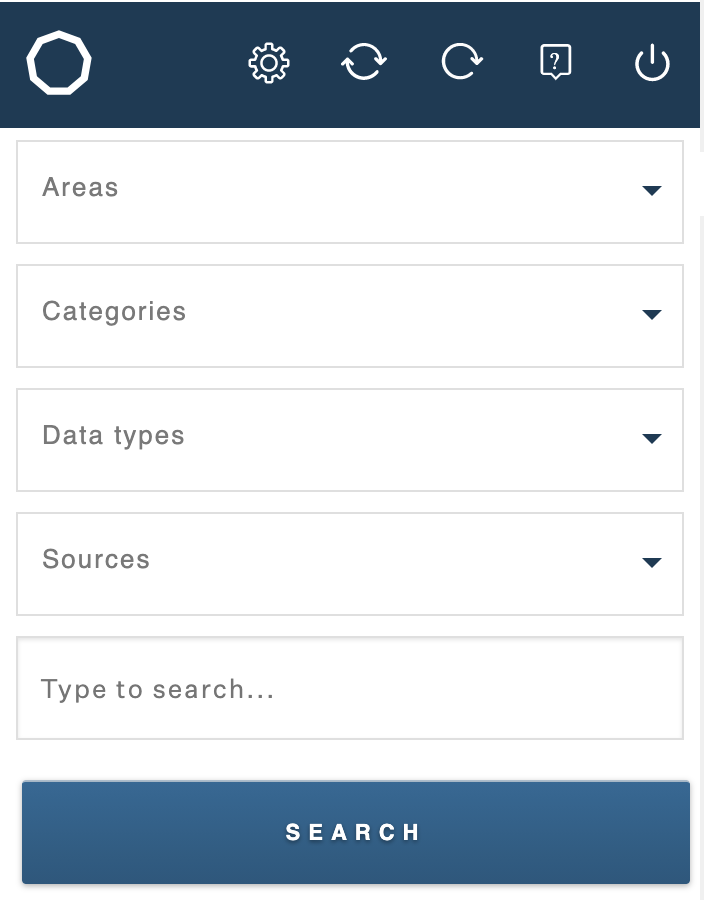
First choose which filter you would like to use, then click it to show the different filtering options:
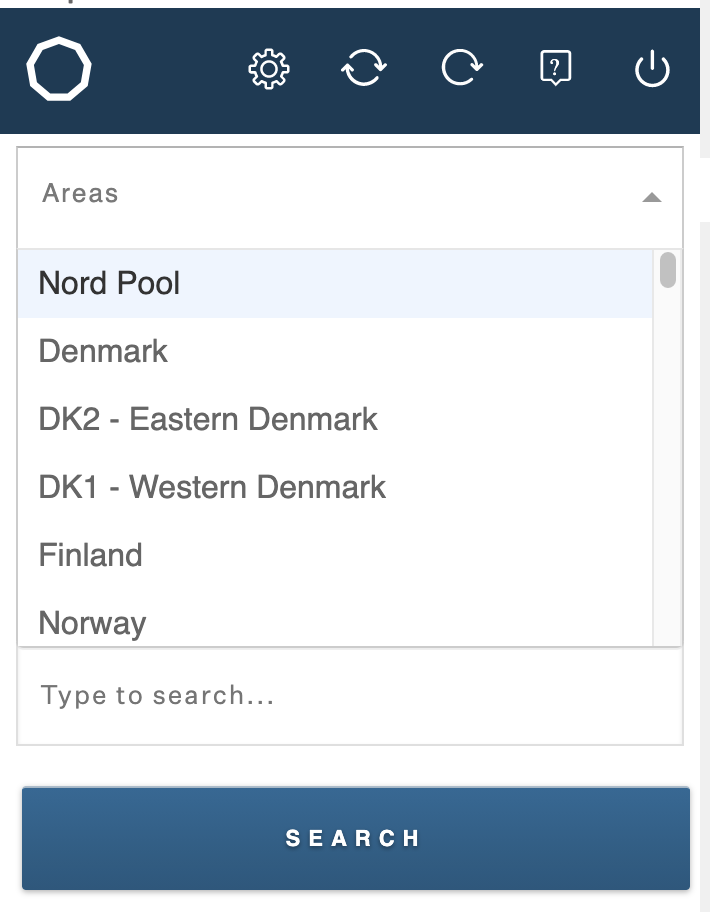
Click on one of the options to add it to your search criterias:
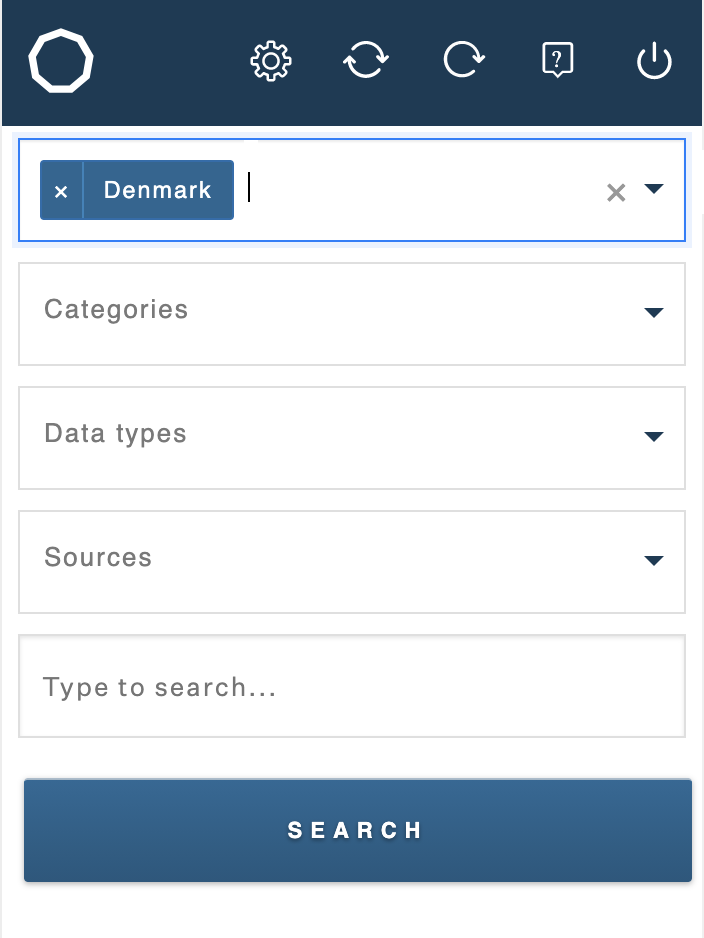
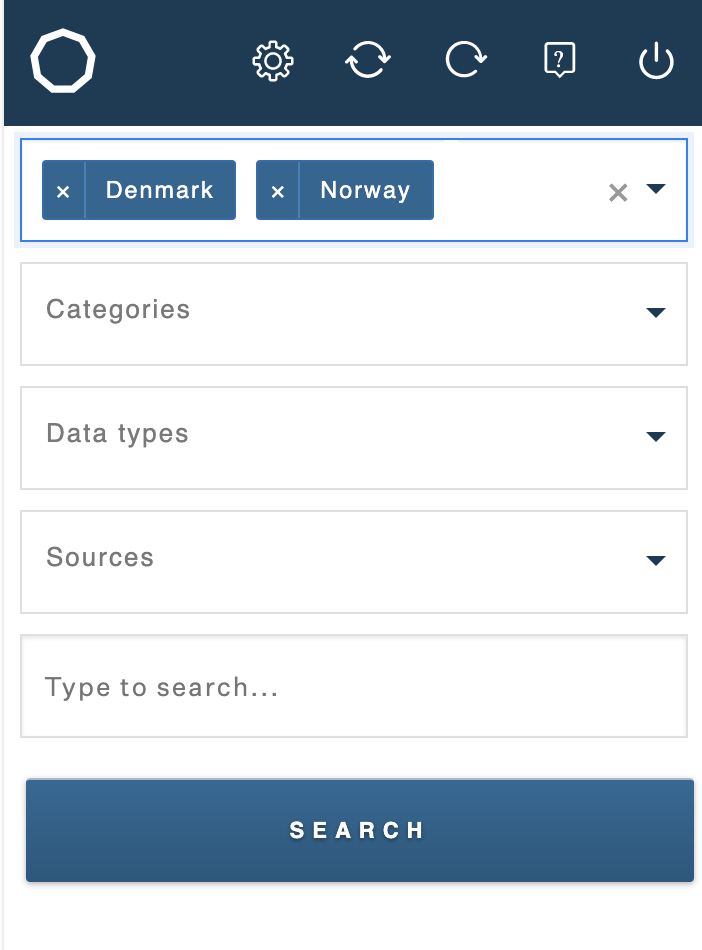
You can add more options in the same filter:
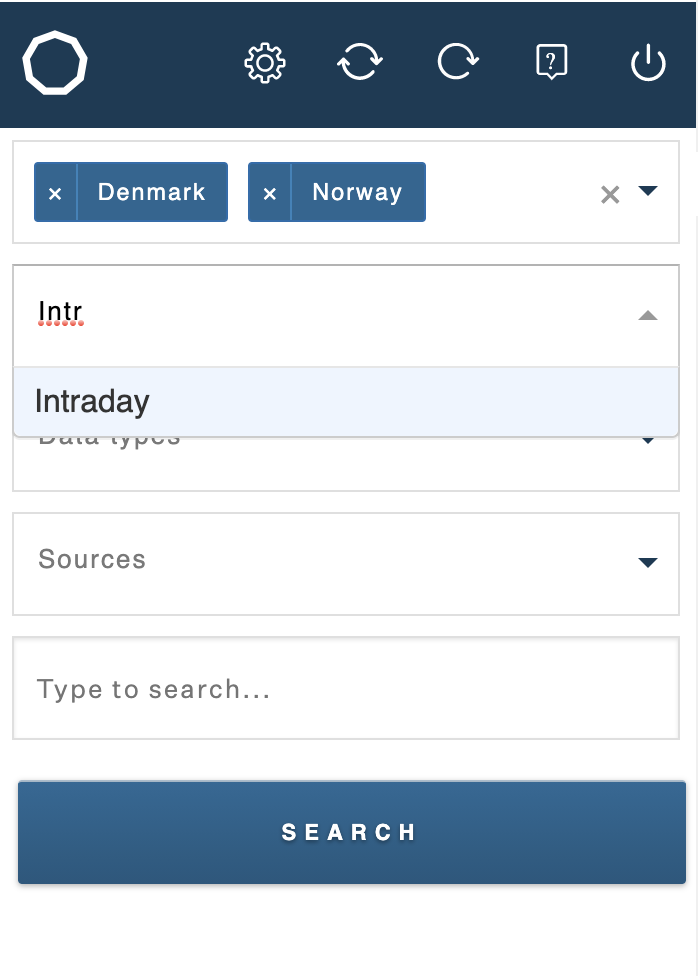
You can type search after an option:
You can add options in different filters. This should help narrow down your search:
Change search filters
If you want to change the search filters, you can click on the Show Settings (gear-wheel) icon on the topbar. You will then be moved to this view, where you can change the pre-defined search filters.
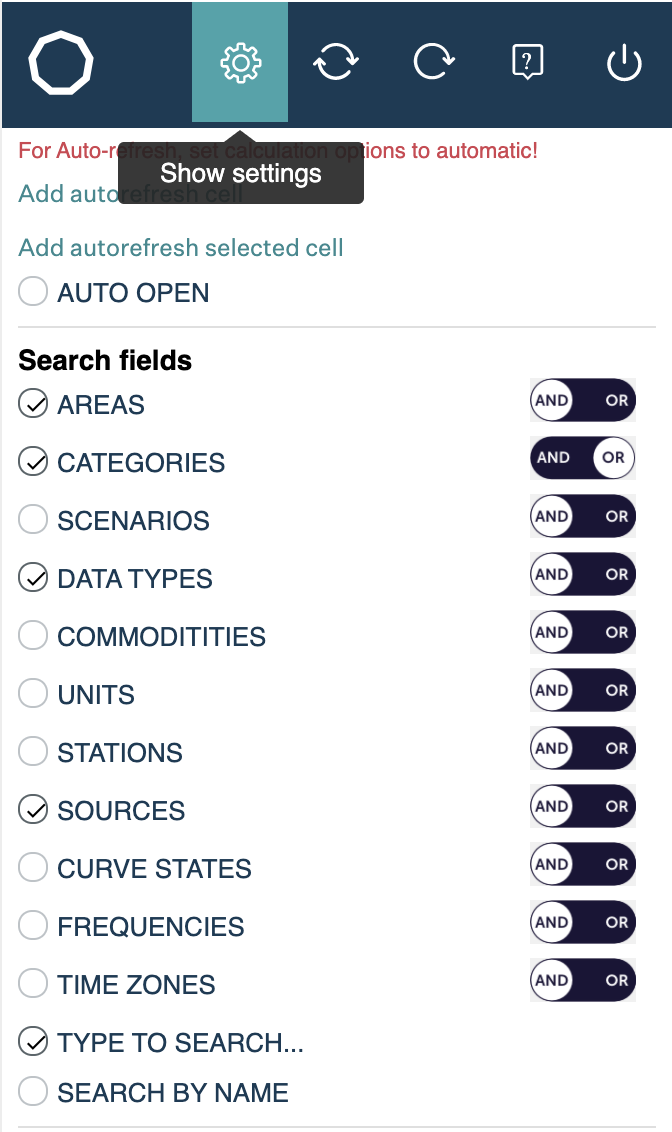
In the search settings you can change which search filters you would like to use. You can change each search filters search behaviour (if you want them to behave like AND or OR), and also which date and time formats you would like to use. You can also reset it to default by clicking the RESET TO DEFAULT button on the bottom of the view.
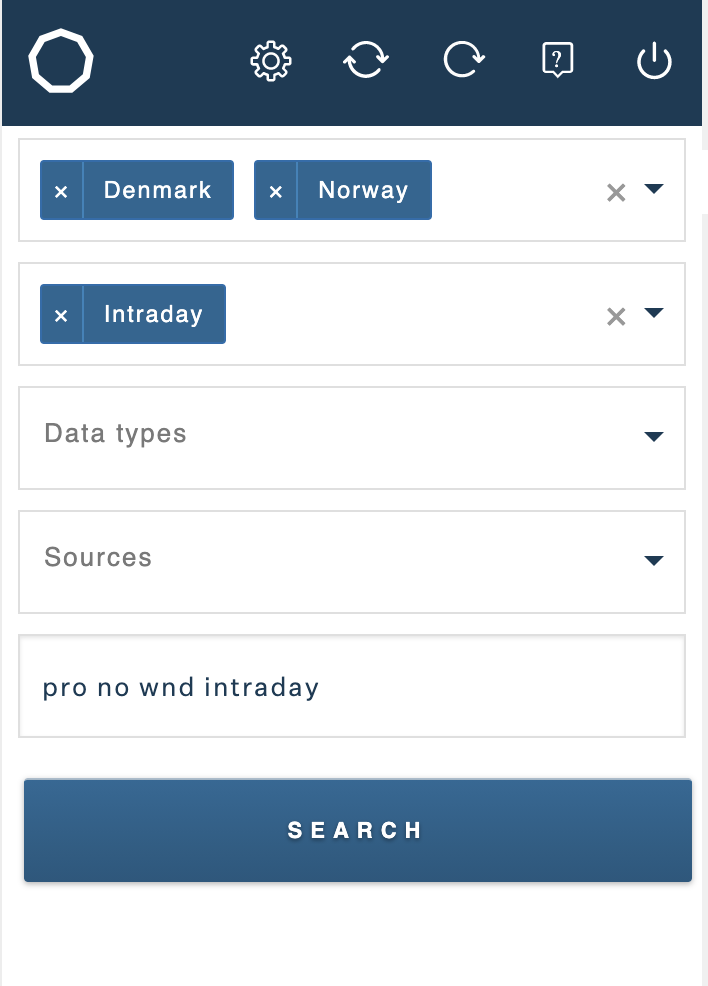
Use the search field
You can also use the search text field to search after curves. This way you can be very specific if you know exactly which curve you are looking for.
Step 3: Search for curves
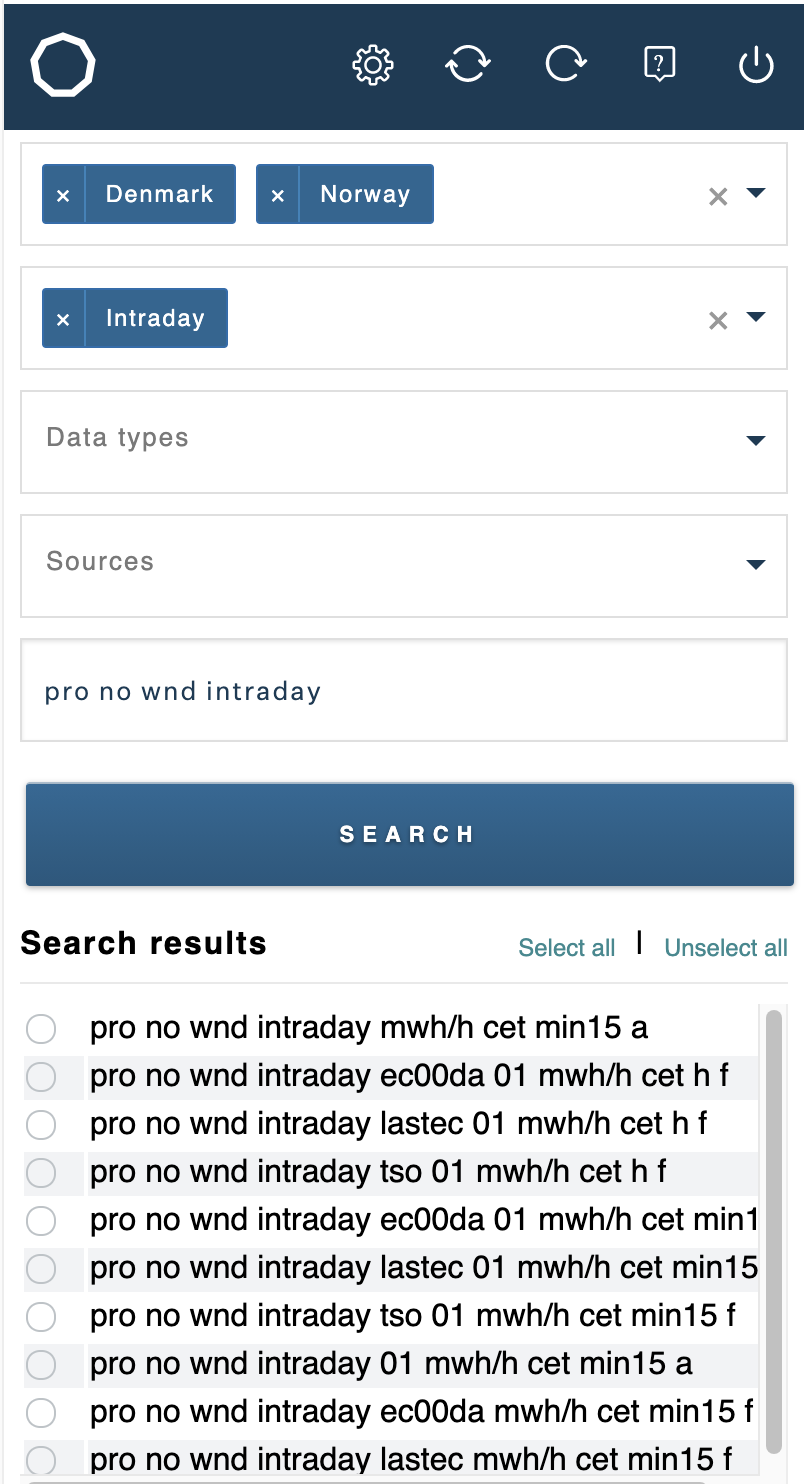
After you have chosen your specific search criterias, you can click the SEARCH button to get the curves you are looking for.
You will then get a list of curves in Search results:
Step 4: Choose curves
To choose selected curves, click on the circle next to the curve-name. You can add more than one curve.
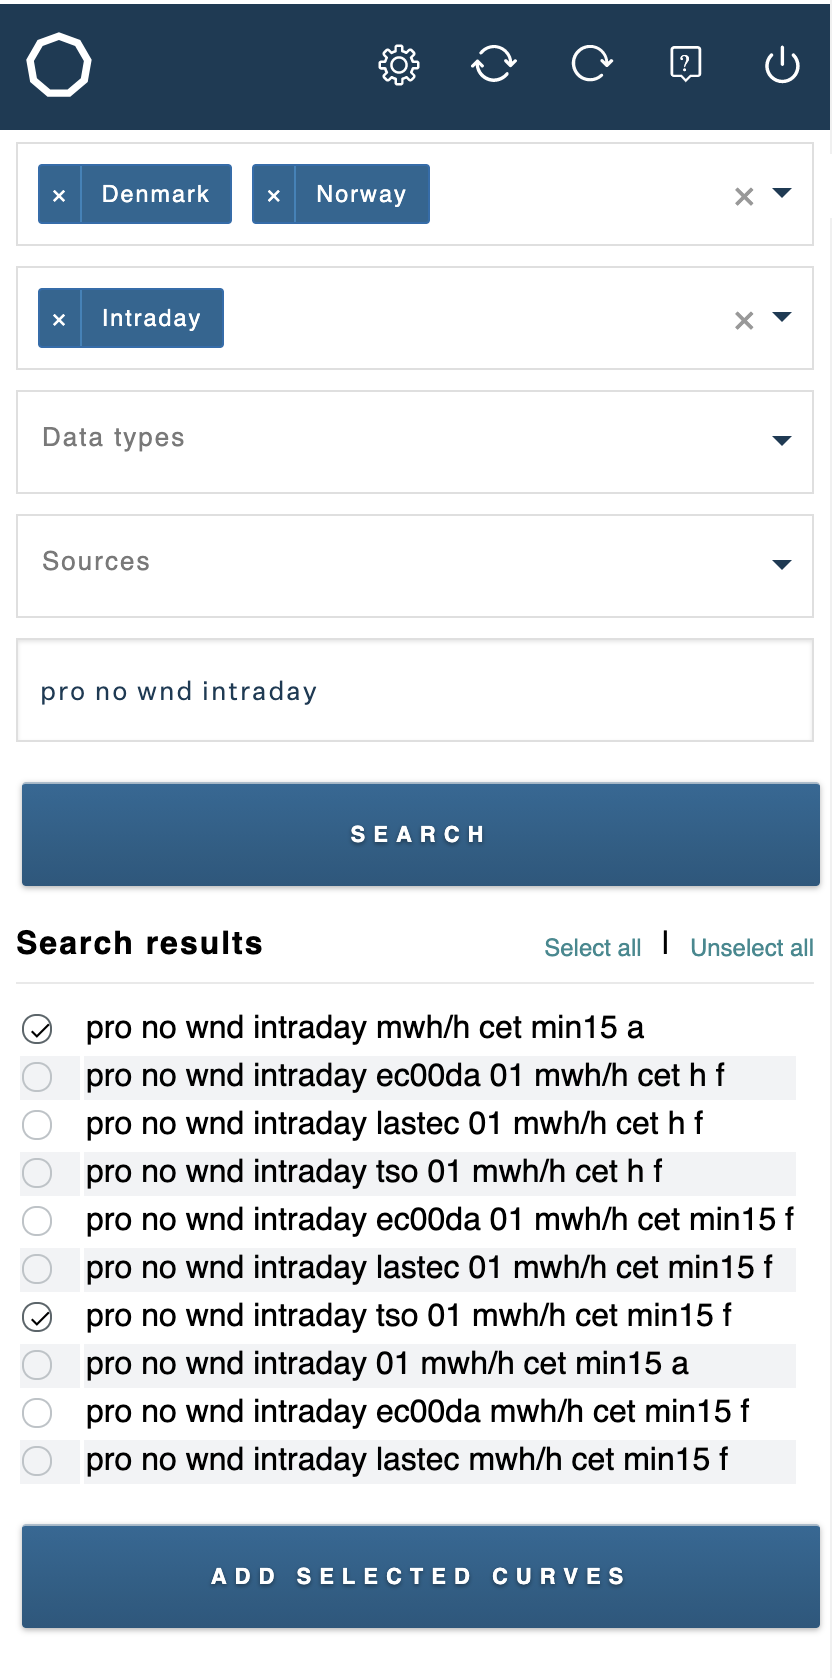
You also have the option to “select all” curves in the curve result. To do this you click on the SELECT ALL link next to the “Search results” title.
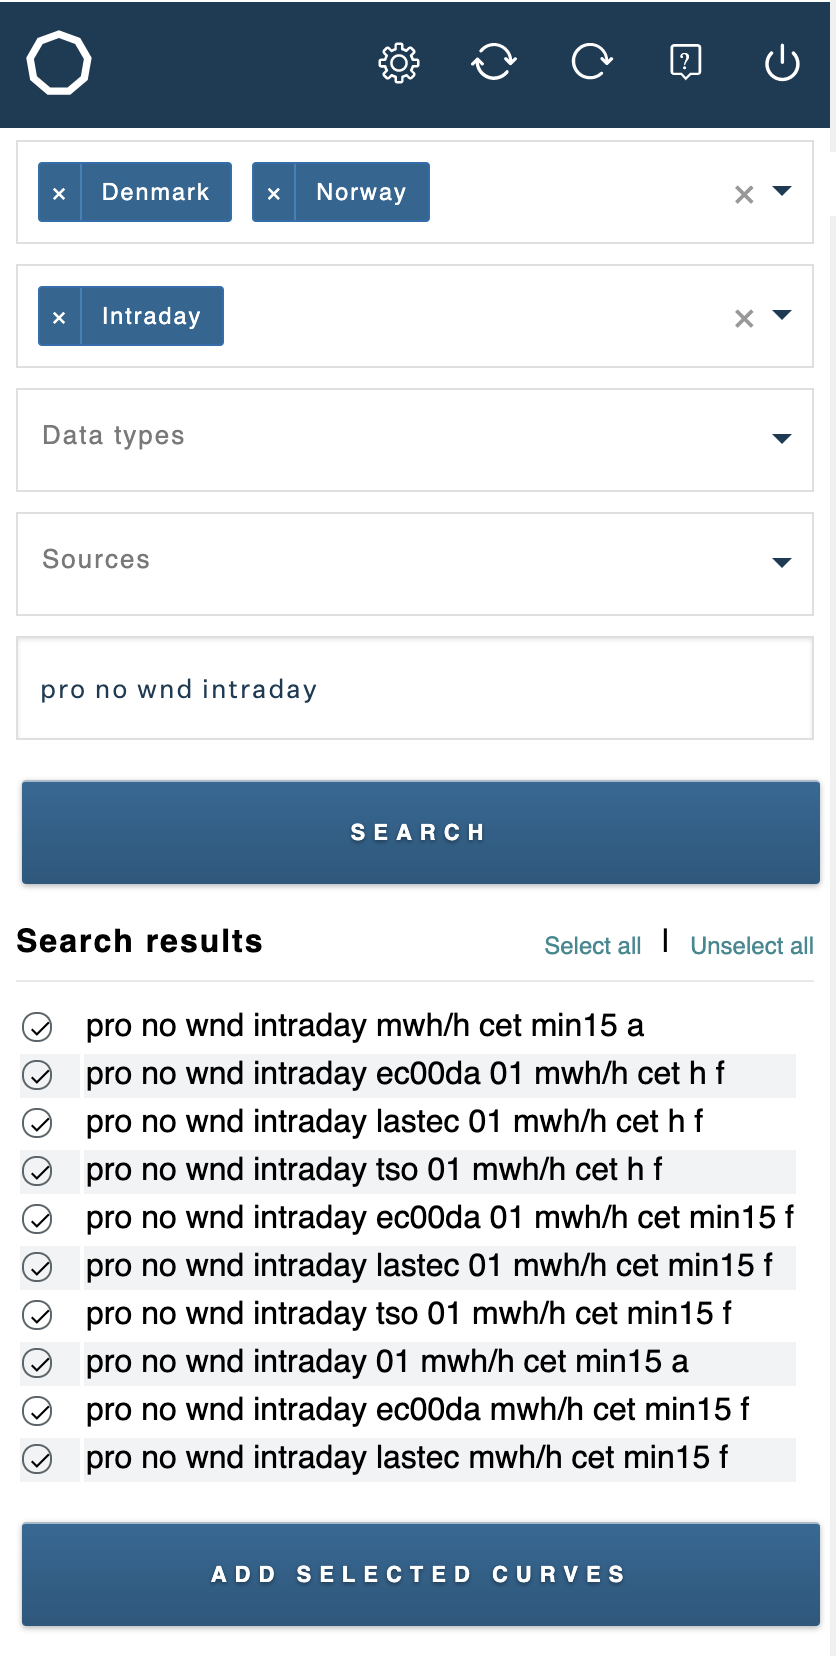
To undo this you can click the UNSELECT ALL link next to it.
Step 5: Add curves to spreadsheet
After you have chosen the specific curves, you can add them to your spreadsheet. To do this you click the ADD SELECTED CURVES button.
You will then get the curves to your spreadsheet:
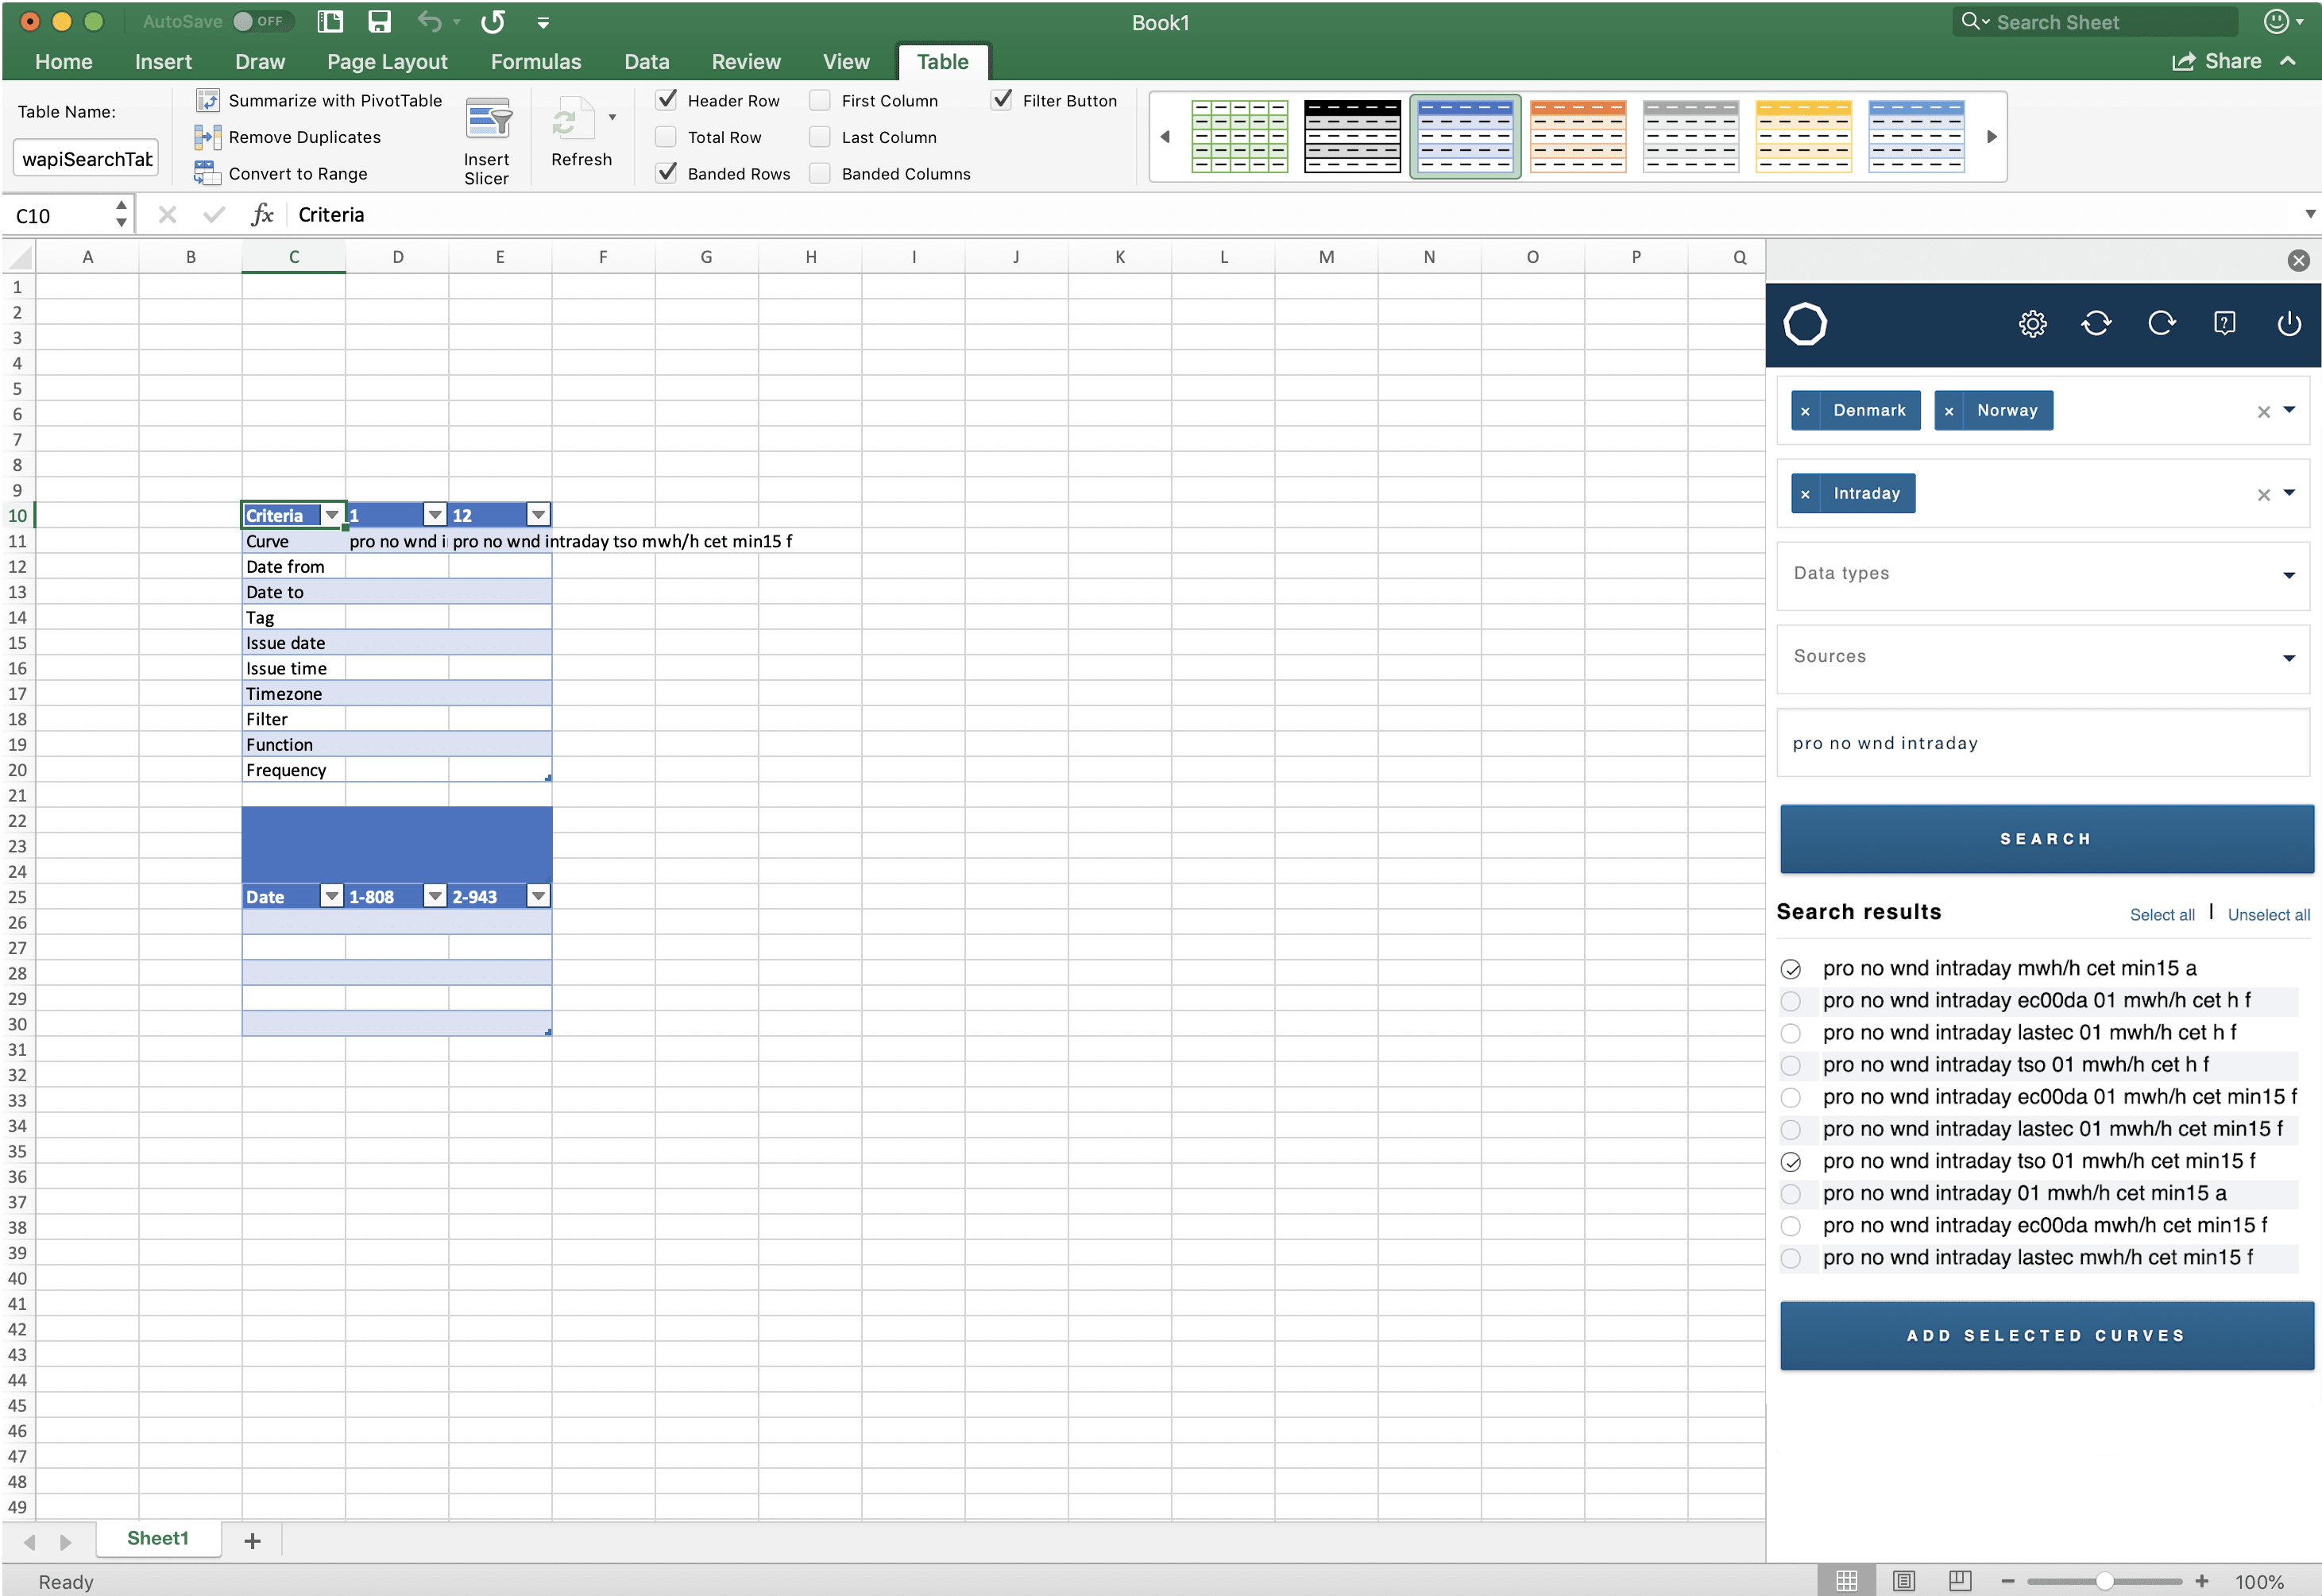
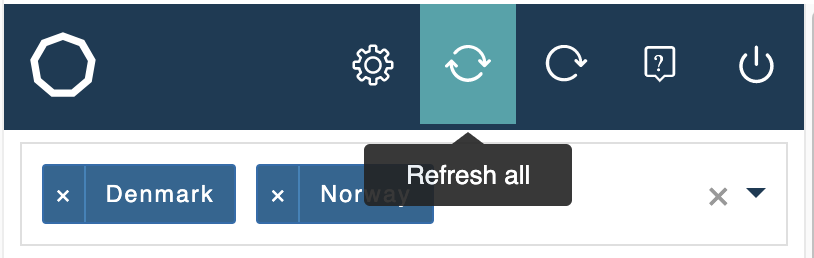
To load the data to the curves, you click the circular arrows in the top bar:
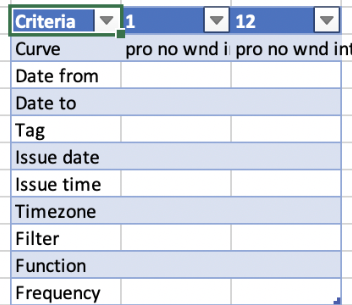
Step 6: Filter the data
For further querying the data, you can use the filters on the Excel sheet in the upper part of the curves table. Make sure to reload the data.
Note
The date format accepted is based on your Date & time settings. Follow this link to Microsoft Windows Support for changing the Date & Time format.
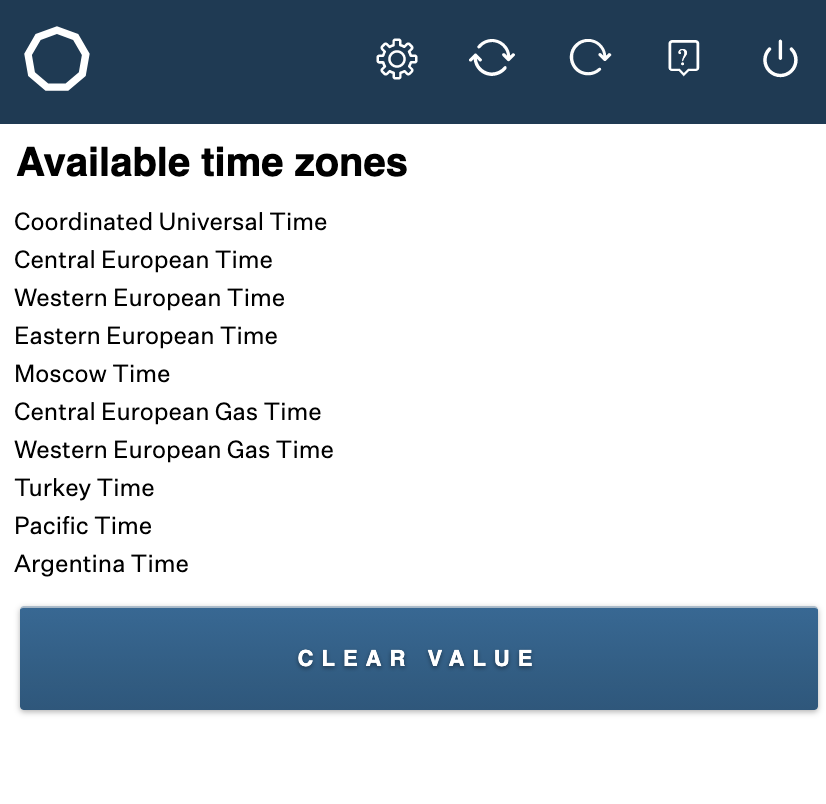
Timezone, filter, function and frequency options will then appear on the Add-in screen (right side) for you to choose from.
More help?
If you need more guidance with the Excel add-in, you can send us an email at support.insight@volue.com