Settings
Autorefresh cell
Warning
Your Calculation Options must be set to Automatic
If you want to control the data refresh from the spreadsheet, you can add the autorefresh cell.
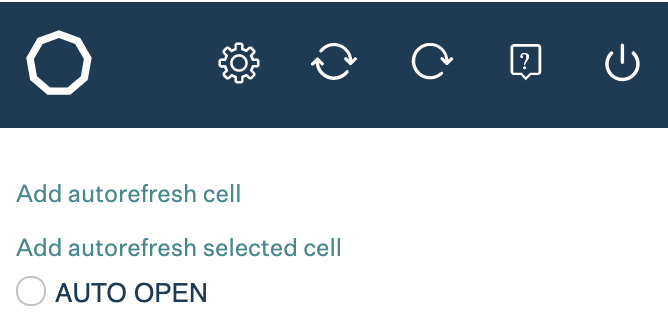
To add it you can click on the gear-wheel icon on the topbar and the Add autorefresh cell is the first option.
Point the cell outside of the table and click the link Add autorefresh cell. The Auto refresh table would appear.
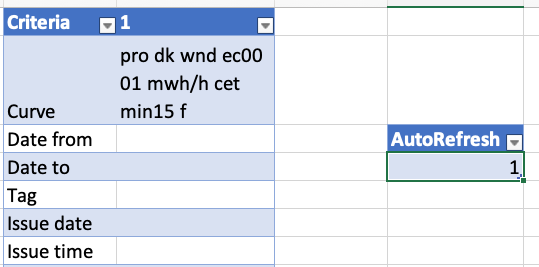
If the cell contains a value that is different from ‘1’ and ‘2’, an update of all the tables present will be triggered.
The value ‘2’ indicates the update is in process and value ‘1’ indicates the updated has finished.
Autorefresh Selected cell
Warning
Your Calculation Options must be set to Automatic
If you want to control the data refresh for only one table from the spreadsheet, you can add the autorefresh selected cell.
To add it you can click on the gear-wheel icon on the topbar and the Add autorefresh selected cell is the second option.
Point the cell outside of the table and click the link Add autorefresh selected cell. The Autorefresh-selected table would appear.
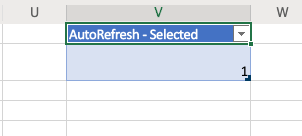
If the cell contains a value that is different from ‘1’ and ‘2’, it will trigger an update of the table you have selected. You should change the value on the Auto-refresh Selected cell and place the cursor on the table you want refreshed immediatly after. This is mainly to be used by a macro.
The value ‘2’ indicates the update is in process and value ‘1’ indicates the updated has finished.
Auto-open
Together with the autorefresh cell, it might be important to have the Volue Insight add-In load when the Excel file is opened.
You can activate this by checking the auto-open checkbox.
This setting is saved in the Excel file.
You can remove it any time and by default it is false.
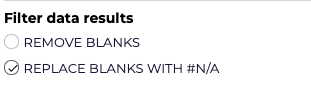
Filter data results
This feature allows you to remove or replace the blank values on the curve tables that are return from the APi, but there is no value assign to the certain dates.
You can either exclude the rows by checking the Remove Blanks option or you can select Replace blanks with #N/A that will insert the function NA().
You can also deactivate the filter by having both options unselected, by selecting the checked option one more time.
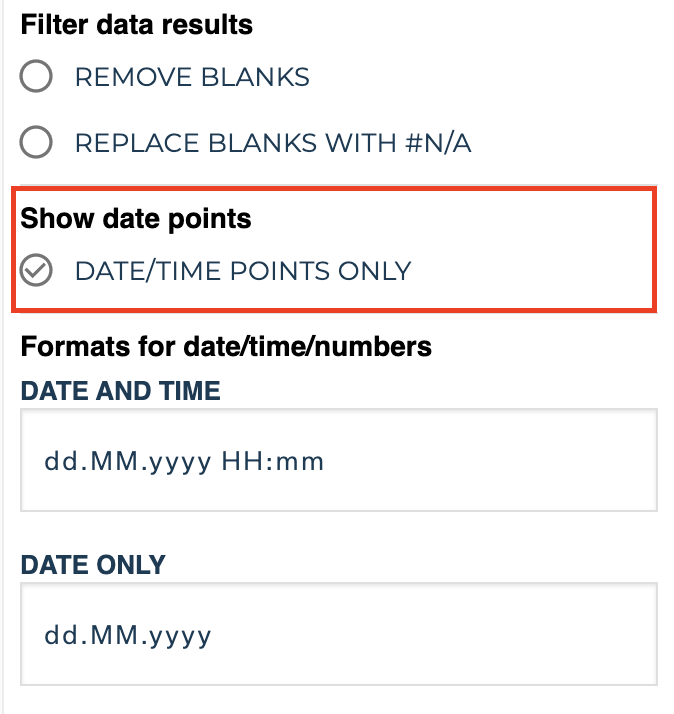
Show date points
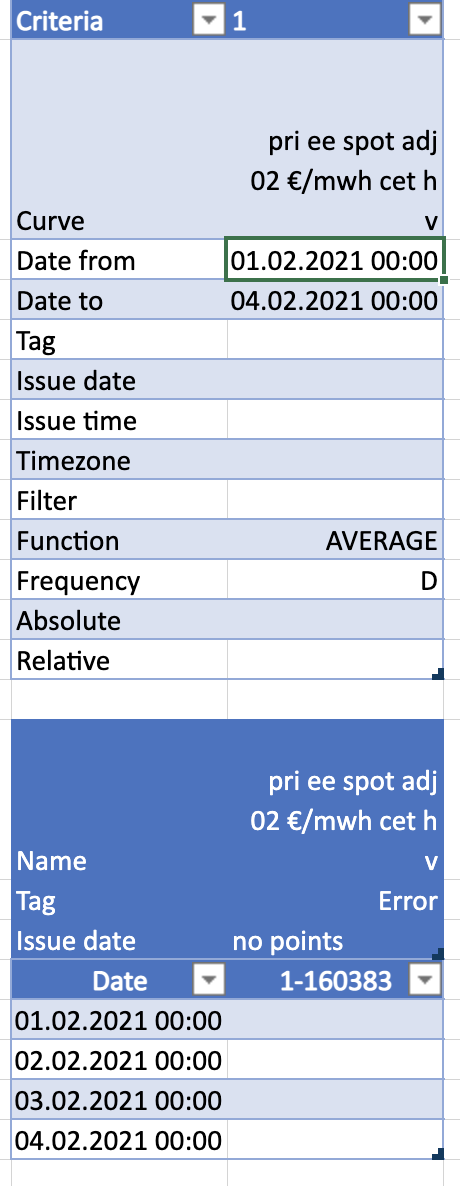
Sometimes it happens that the curve data is empty, showing the error as no points.

In this case, you can still generate the rows with date only.
By selecting the checked option in Show date points of settings.
Fill out the date from and date to on the table. Then, click refresh.
You can also define the frequency you want for the dates. The default frequency is the curve data frequency.
Formats for date/time/numbers
This feature allows you to edit the format of the date, time, and the numbers automatically for generated data and the format of date-picker on the app. The Date and Time are used for the date that is appeared as a full date or along with time. Meanwhile, the Date Only and Time Only are only used in Issue Date and Issue Time input.
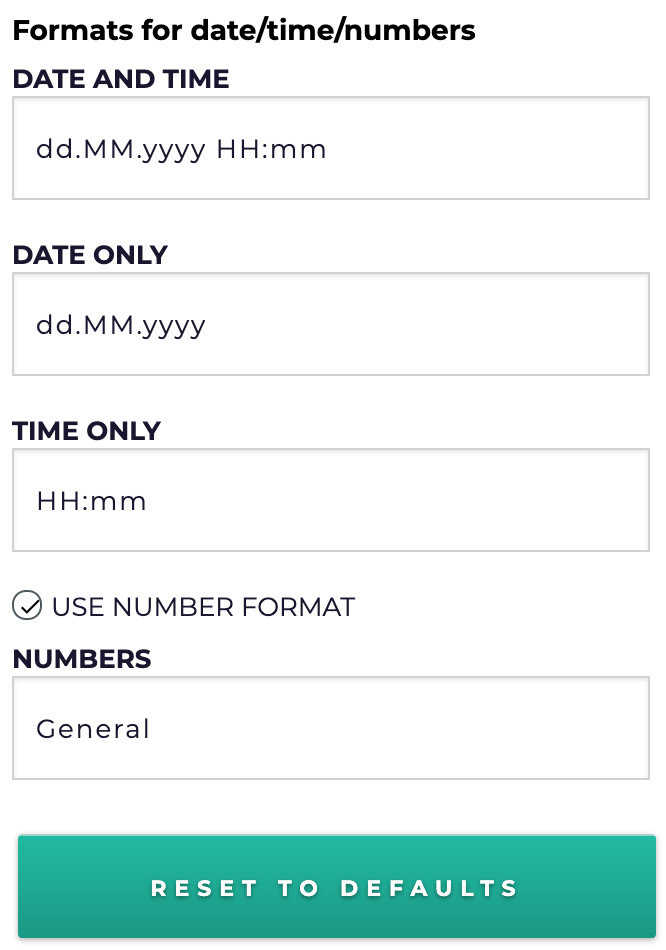
To use this feature, type the format you want in the input field, then click the refresh button
Note
However, there is a limitation on date and time formatting, thus we make a list of what is the possible format on the date and time settings, such as:
- Date:
dd.MM.yyyy
dd-MM-yyyy
dd/MM/yyyy
dd/MM/yy
dd.MM.yy
dd-MM-yy
MM.dd.yyyy
MM-dd-yyyy
MM/dd/yyyy
- Time:
HH:mm
hh:mm aa
HH:mm:ss
In addition, if you want to have your own format on the generated number result and we call default format when we reset it, you can disable it by unchecking “Use number format”
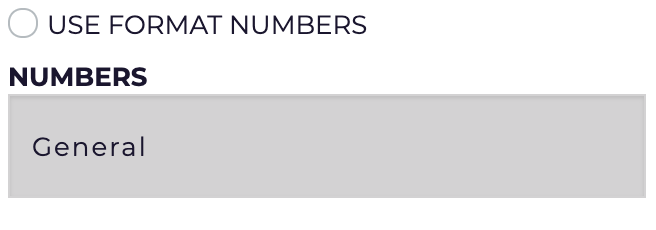
Finally, if you want to reset the format configuration as default, simply click “Reset to Defaults”.